How to
Welcome to our site! Whether you're here to follow a journey, explore posts by topic, or contribute with your own content, this guide will help you navigate our features with ease. Follow the steps below to make the most of your experience.
- How to request a Contributor account
- How to customize your Contributor account
- How to Write a Post
- How to create a Member account
- How to Follow a Journey
- How to Filter Posts by Topic
How to request a Contributor account
- Click on the "Write" button on the header
Locate the "Write" button in the header and click on it.

- Click on the "No" button
Confirm that you want to become a contributor and that you haven't already registered by clicking on the "No" button.

- Request invitation
To contribute, send an email to "staff@byreference.net" and wait for the invitation email which will be sent by our team as soon as possible. To speed up the selection process, please add a brief description of you into the body of the email.

- Activate your account
After receiving the invitation email, click on the button "Click here to activate your account" to continue with the account creation process.

- Create your account
After activating your account, you will be redirected to a page to create an account. Insert your full name, your email address, a strong password, and click on the "Create Account" button.

- Start to write
Now your account is complete and you can start creating content on By Reference.

How to customize your Contributor account
- Upload a profile picture and/or add additional details
Uploading a profile picture and/or inserting additional details is not compulsory, but it is strongly suggested.- Click on the user button at the bottom left corner
- Click on the "Your Profile" button
- Click on the user button at the top left corner
- Select your preferred profile picture
- Add additional details
- Location: the place where you live (e.g., Italy)
- Website: if you do not have a website, you can add here the URL of your LinkedIn profile
- Facebook profile: the username of your Instagram profile
- X (formerly Twitter) profile: the username of your X profile
- Bio: a short bio which describes you briefly


- Save
After uploading a profile picture and/or adding additional details, click on the "Save & close" button at the bottom right corner to confirm your modifications.

How to Write a Post
- Click on the "Write" button on the header
Locate the "Write" button in the header and click on it.

- Click on the "Yes" button
Confirm that you are already registered as a contributor by clicking on the "Yes" button.

- Sign In
Insert your credentials and click on the "Sign In" button.

- Start to write
Now your account is complete and you can start creating content on By Reference By clicking the “New Post” button.

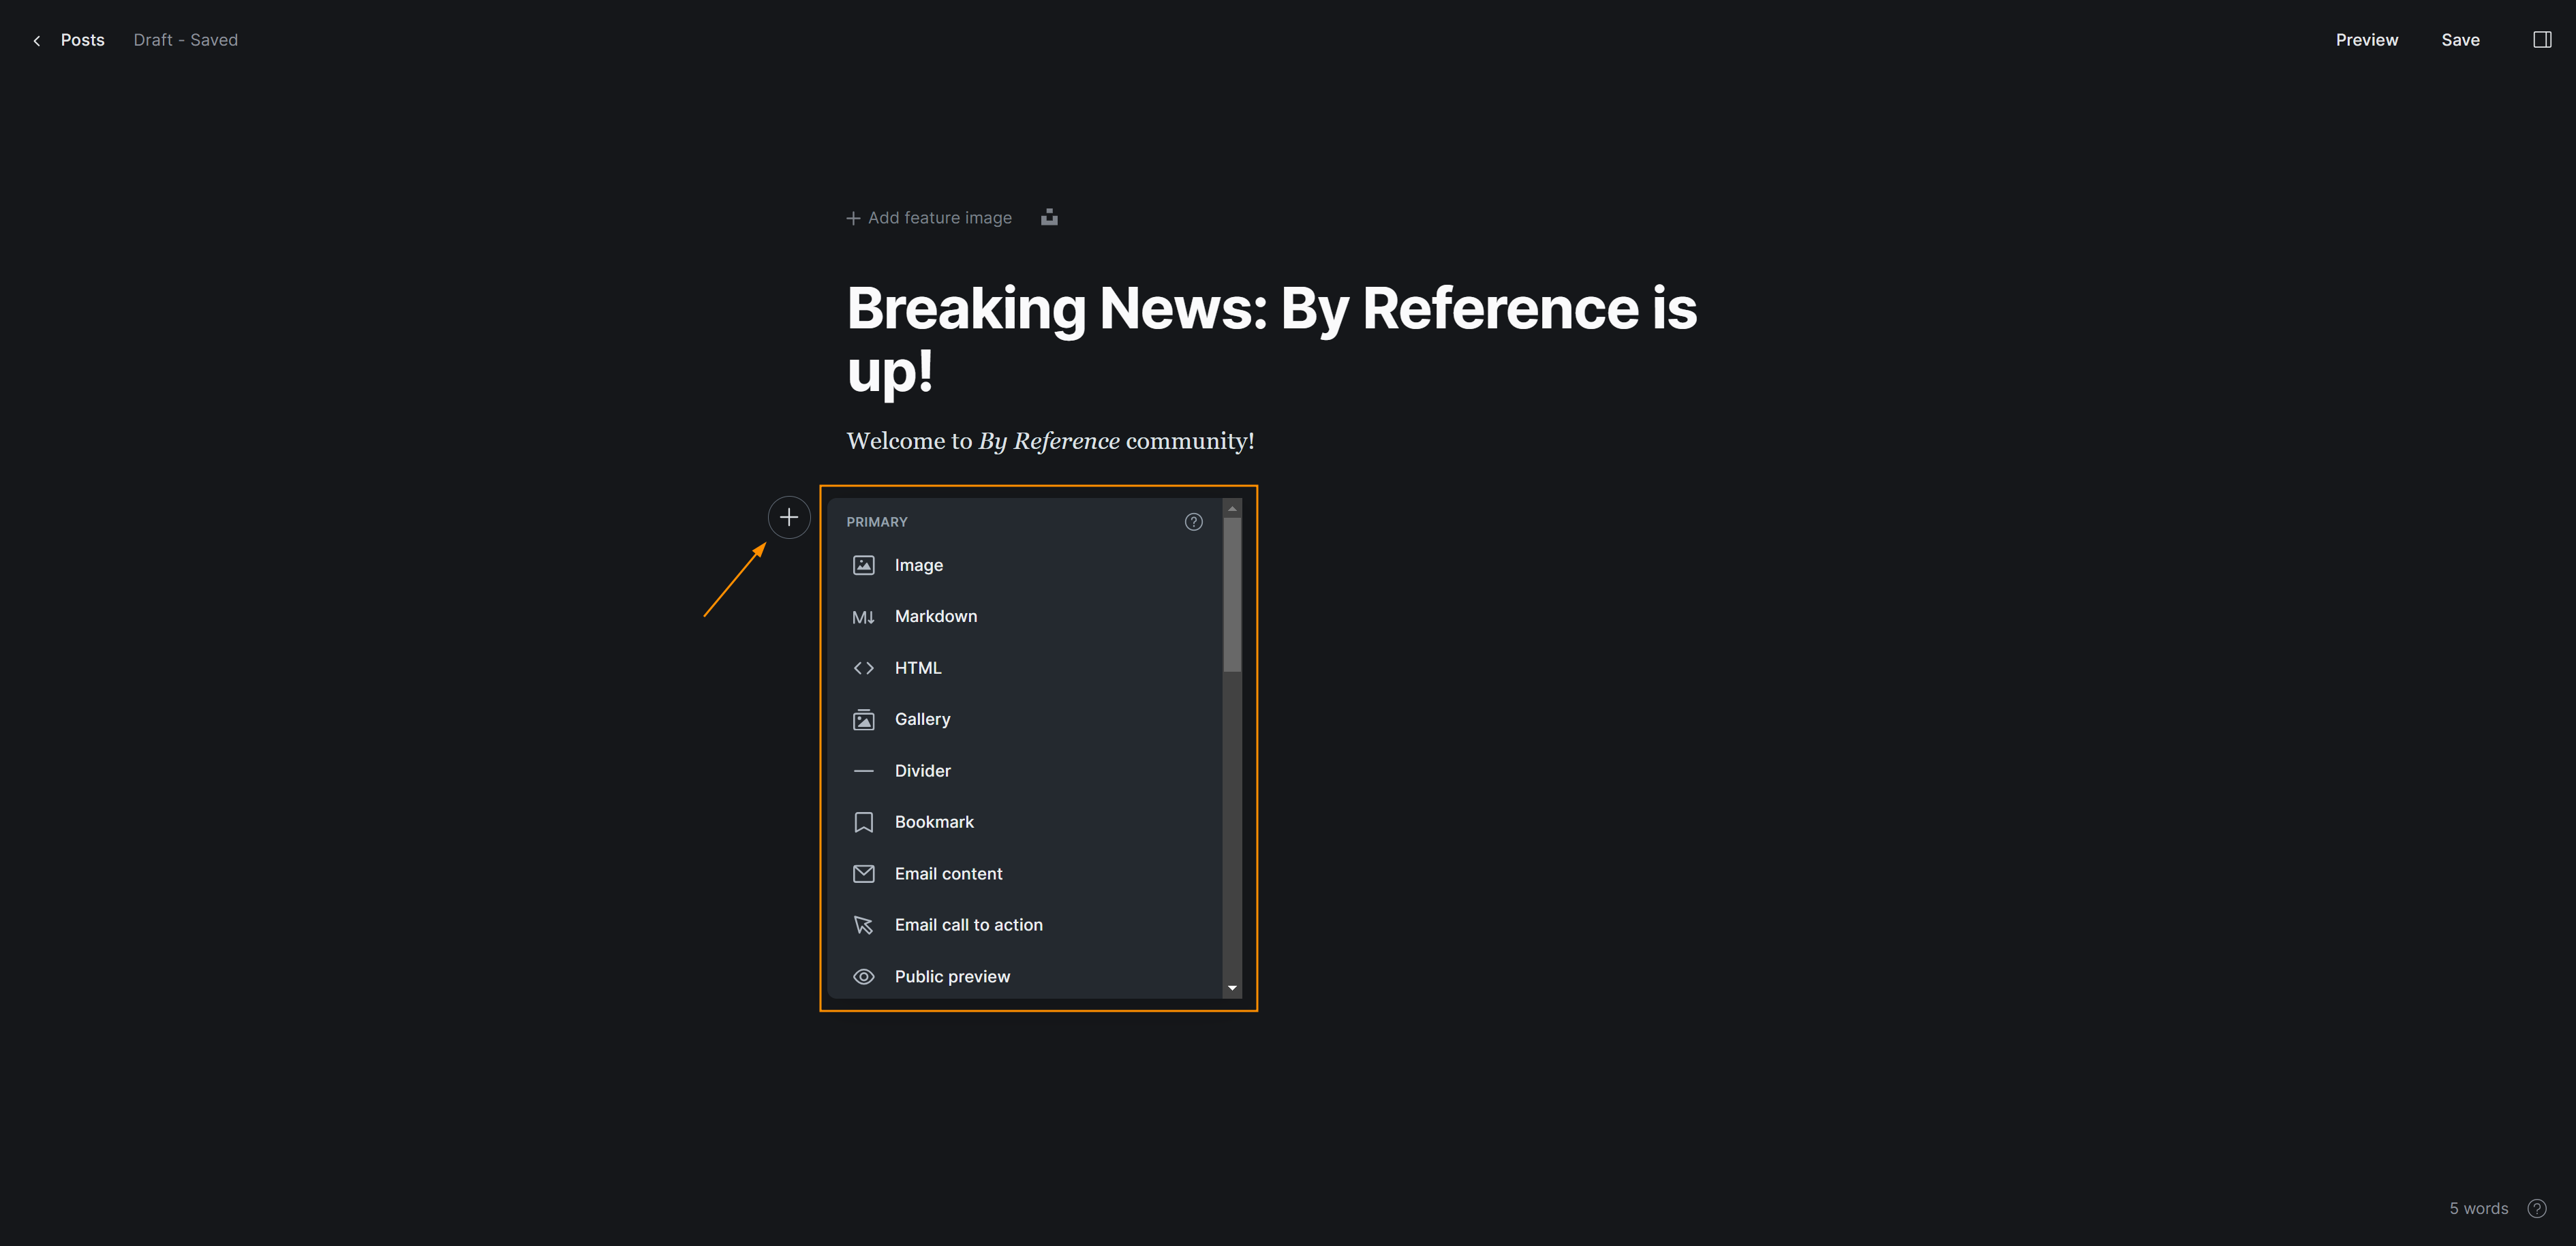
When creating a post, you can either write your text or use one of the many integrations we offer. Here's how to enhance your post with attachments and a featured image.

Adding attachments to your post is easy. Simply follow the on-screen instructions to upload files directly from your device.
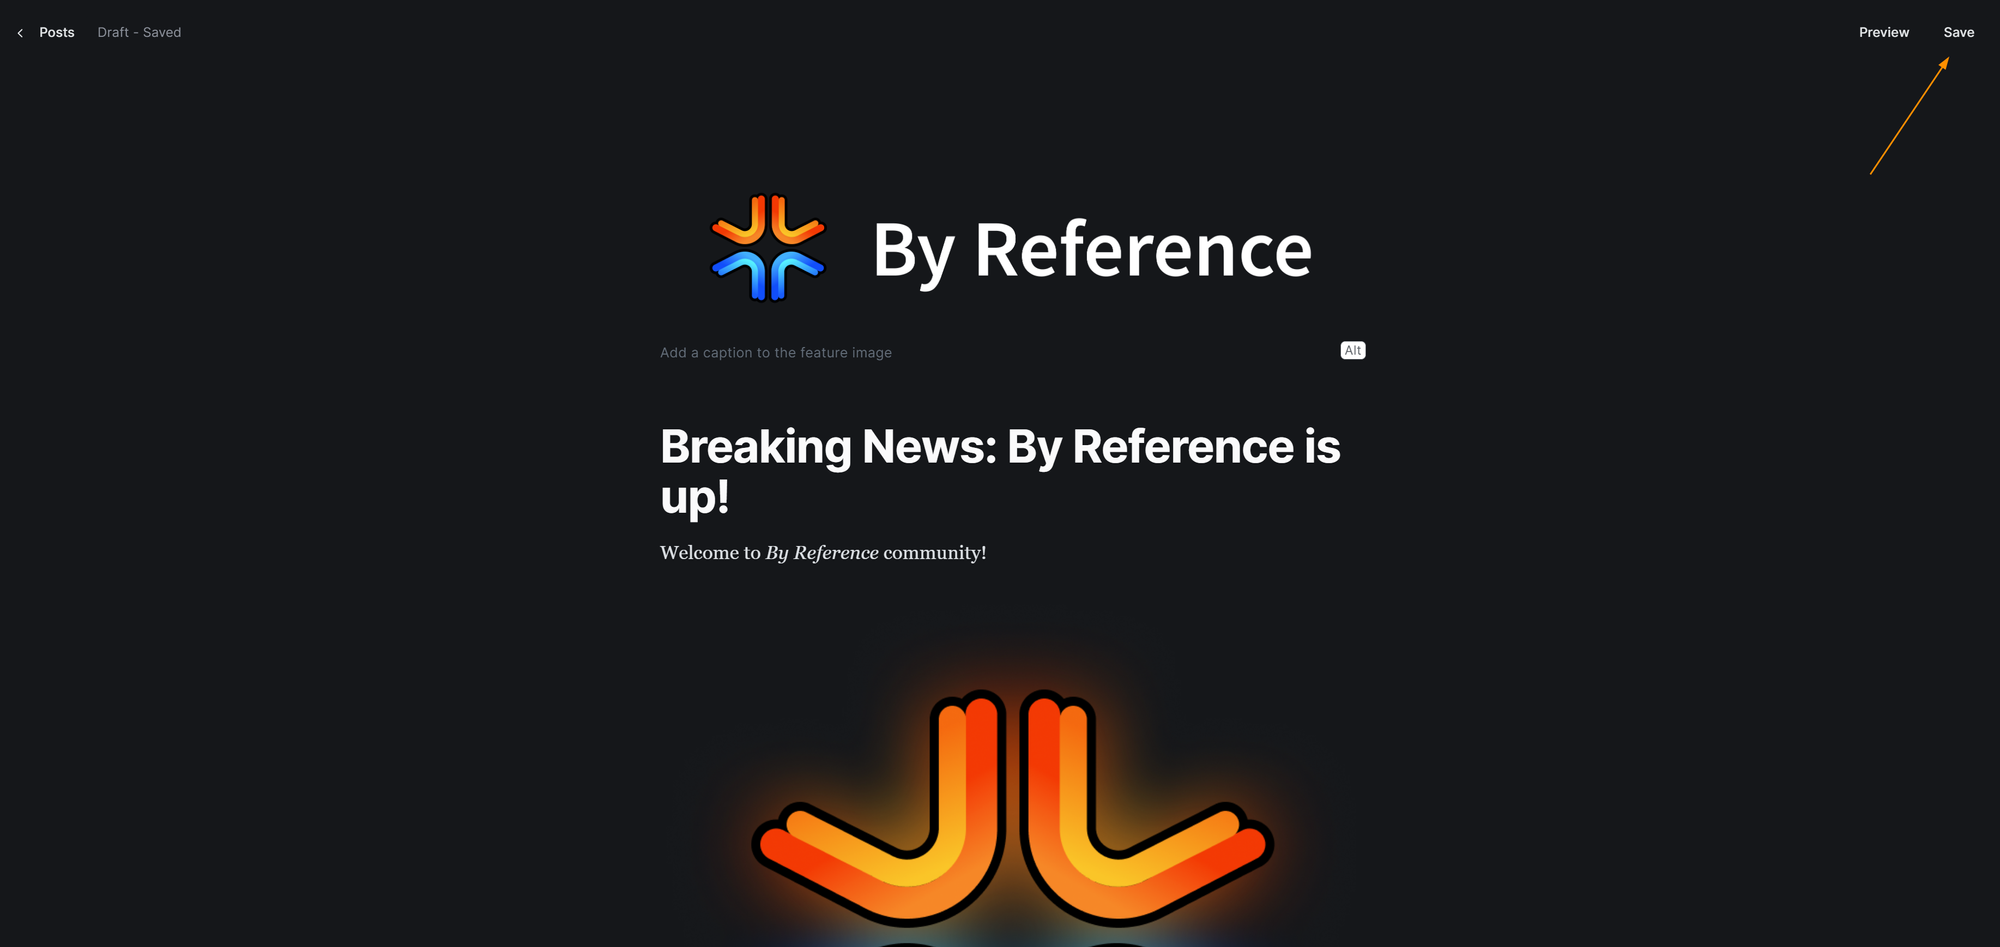
To make your post more visually appealing on ur page, we recommend you to add a featured image. This image will be displayed on the Posts page alongside your new content. Follow these steps to insert a featured image:

Click the “Save” button in the top right corner once you're satisfied with your content.

After clicking "Save," your post will be saved as a draft. The By Reference staff will review your draft to ensure it complies with our Terms of Service, This review process typically takes 24 to 48 hours.


If your post remains in “Draft” status and you’re unsure why it hasn’t been published, you can request further clarification by emailing: support@byreference.net.
By following these steps, you'll be able to create and submit engaging posts on By Reference smoothly and efficiently.
How to create a Member account
There are several ways to create a Member account to receive newsletters and/or leave comments on posts.
- "Subscribe" button on the header
- "Subscribe" button on the home page
- Floating user button at the bottom right corner
- "Sign up" now button inside the "Member discussion" box
"Subscribe" button on the header
- Click on the "Subscribe" button on the header
- Insert your full name and your email address
- Tick the "I agree to terms of service and privacy policy" checkbox
- Click on the "Sign up" button


"Subscribe" button on the home page
- Insert your your email address
- Click on the "Subscribe" button

Floating user button at the bottom right corner
- Click on the user button at the bottom right corner
- Insert your full name and your email address
- Tick the "I agree to terms of service and privacy policy" checkbox
- Click on the "Sign up" button


"Sign up" now button inside the "Member discussion" box
- Click on the "Sign up now" button
- Insert your full name and your email address
- Tick the "I agree to terms of service and privacy policy" checkbox
- Click on the "Sign up" button


How to Follow a Journey
- Click on the "Journeys" button on the header
Find the "Journeys" button located in the site header and click on it.

- Select the journey of your interest
Browse through the list of available journeys and click the one that interests you.

- Read all the posts related to a journey
Once you've selected a journey, you'll be able to read all the posts associated with it by clicking on the orange cards

How to Filter Posts by Topic
- Click on the "Topics" button on the header
Locate the "Topics" button in the header and click on it.

- Select the topic of your interest
Browse through the main topics and click on the one that interests you.

- Select the tag
Within the main topic, choose the relevant tag to see a list of posts related to that tag.

